
How anyone can run a Substack using the Quillo content library, drafting and scheduling
September 2, 2026 · 13 min read
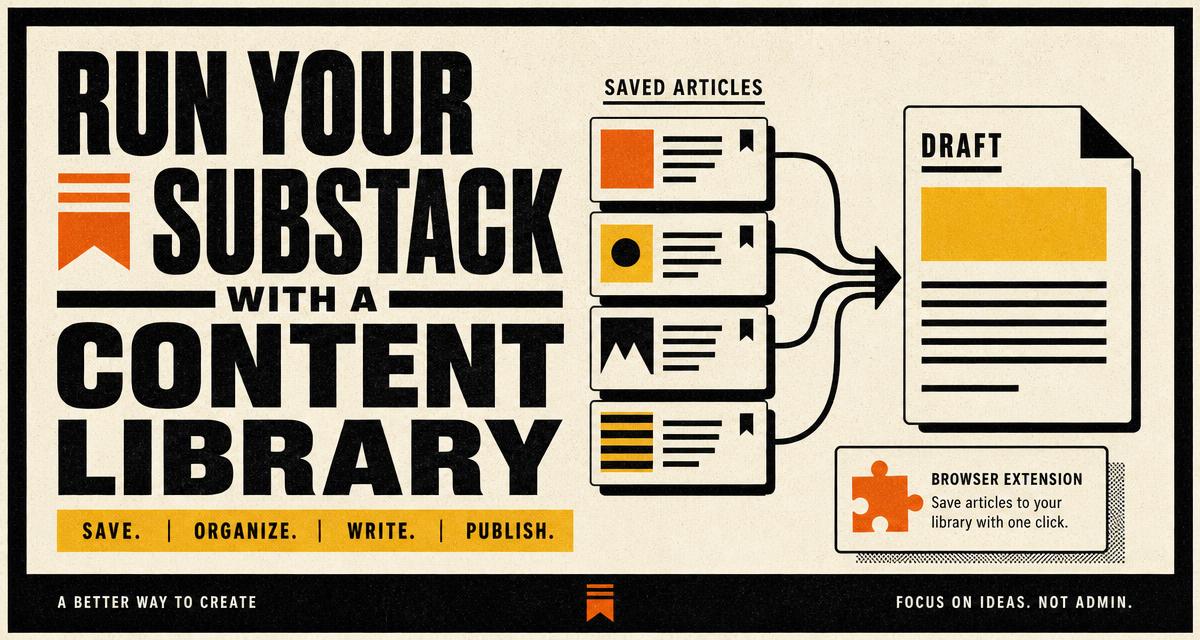
Most newsletters do not die from bad writing. They die on the Tuesday when there is nothing in front of you and the issue is due. The blank page is the problem, and the blank page is a collection problem, not a writing problem.
This post walks through the loop Quillo is built around: collect material as you read it, keep it organised, draft from what you collected, then push to Substack as a draft, schedule it or publish it. Nothing here requires a team, and the AI part is optional.
The loop in one paragraph
Material arrives in your Library inbox from four or five different directions. You sort it, group what belongs in the same issue, then send that group to the Composer. You write, or you ask the AI to produce a first draft from the sources. You read it properly, fix what is wrong, save it, then push it to Substack and either publish now or schedule a send time.
Publishing happens from Quillo using your own Substack login session. The Chrome extension is what keeps that session fresh, which is why it is required for reliable posting.
The Library: where material lands before it becomes an issue
Everything you add shows up in the Inbox tab of the Library. Each item keeps its title, an excerpt, the site it came from and, when the page exposes one, its featured image. From there you move items along or delete them as you work through the list.
Where items can come from
- Paste a URL. Drop any article link in and Quillo fetches the title, excerpt, site name and featured image where one is available.
- Follow a blog. Paste a blog or Substack homepage and Quillo tries to detect its feed, then saves it as a source you can pull from again later.
- Direct RSS feed. If you already know the feed URL, paste it and pull the latest items straight into the Inbox.
- The Chrome extension. One click saves the page you are reading. Highlight a passage first and that selected text is saved as notes on the item, plain text only.
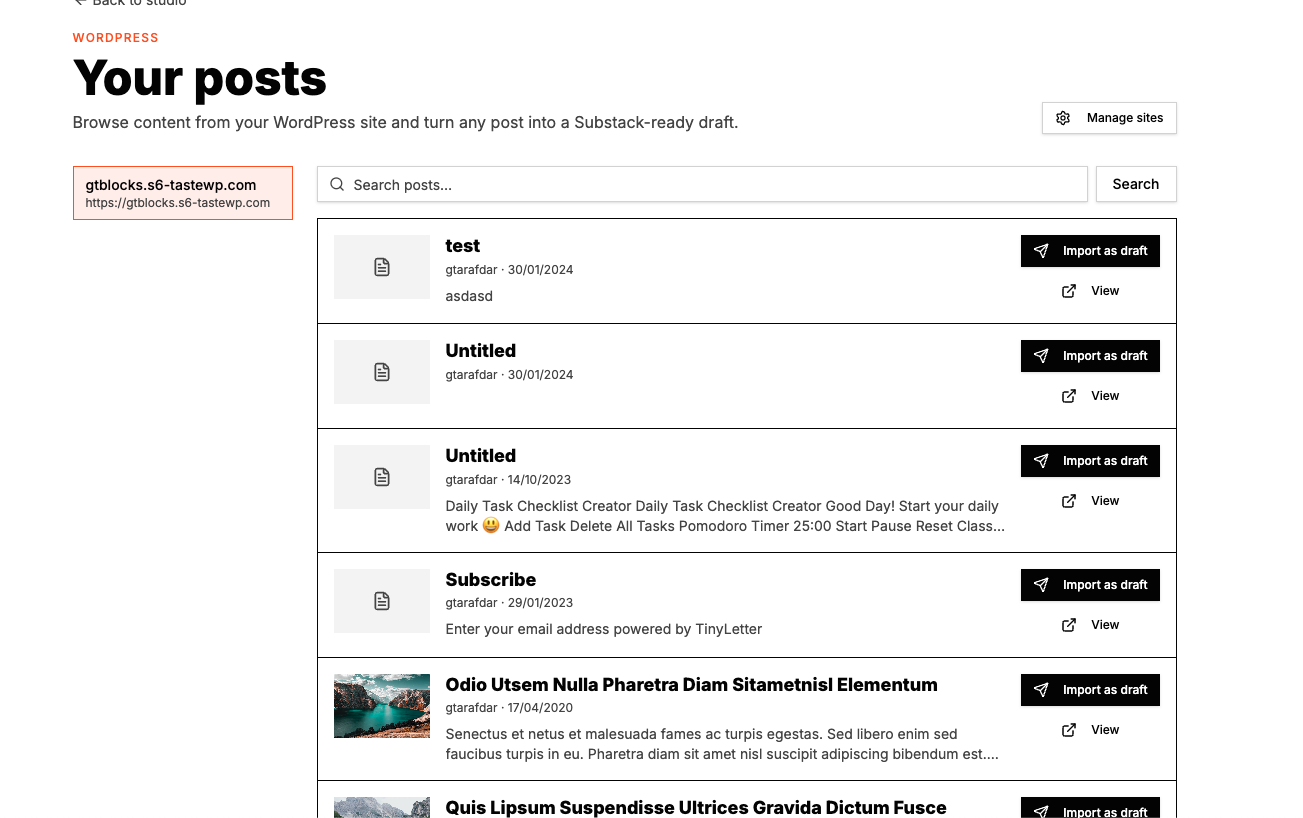
- A connected WordPress site. Pull posts into the Inbox from the WordPress screen, and new posts can sync automatically.
- Plain notes. When there is no link, keep the idea as a note so it is in the same place as everything else.
Statuses and batches, so the inbox does not become a pile
Items move through four statuses: inbox for new arrivals, planned for material you have decided to use, drafted once it has made it into a draft, and archived for everything else. The point is not tidiness for its own sake. It is that the Tuesday version of you can open the Library and see immediately what was already chosen.
Batches group items that belong in the same issue. Create a batch, drop four or five items into it, and that batch becomes a roundup you can send straight to the Composer. If you publish a weekly digest, working in batches is the single change that makes the schedule survive a busy week.
Pulling your own WordPress posts in
If you already blog on WordPress, your archive is source material. Connect the site once, then pull posts into the Library from the WordPress screen. The direction is always the same: WordPress post pulled into Quillo, edited in Quillo, published to Substack from Quillo. There is no direct posting from WordPress to Substack.
Connecting Substack with the Chrome extension
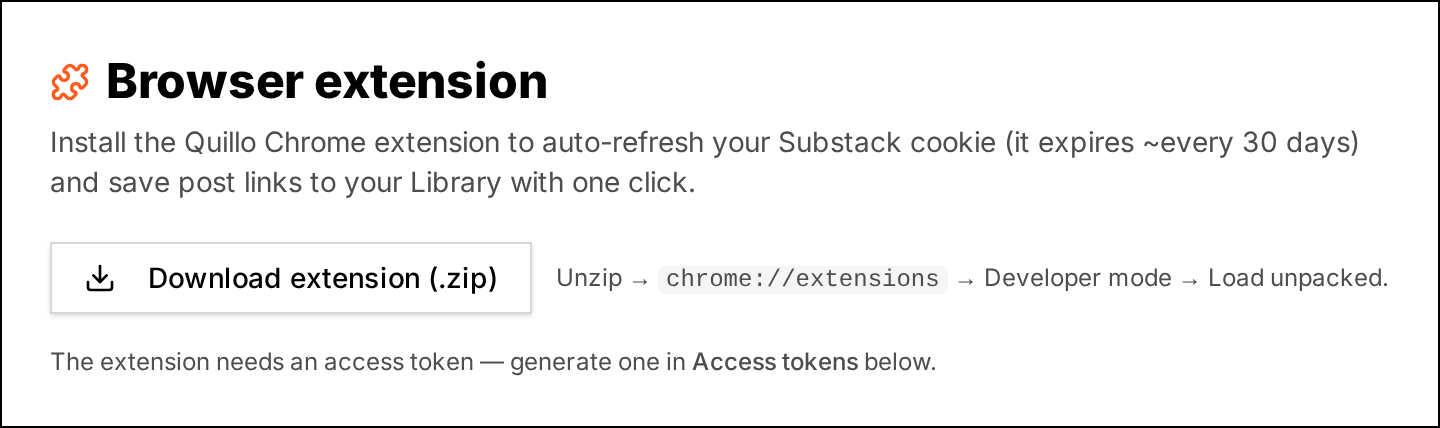
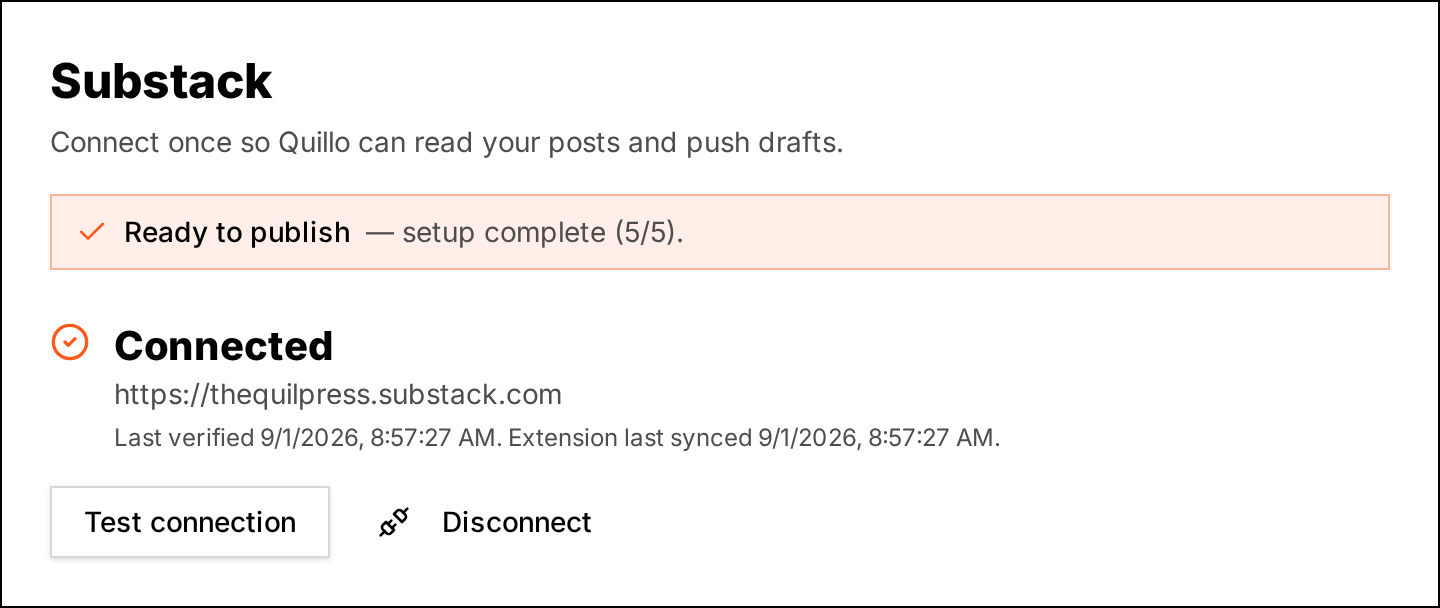
Pushing drafts, scheduling and publishing all act on your behalf on Substack, so Quillo needs your Substack login session. The reliable way to provide it is the extension, which syncs the session in the background and keeps it fresh.
- Install the Quillo extension in Chrome or a Chromium browser such as Edge, Brave or Arc.
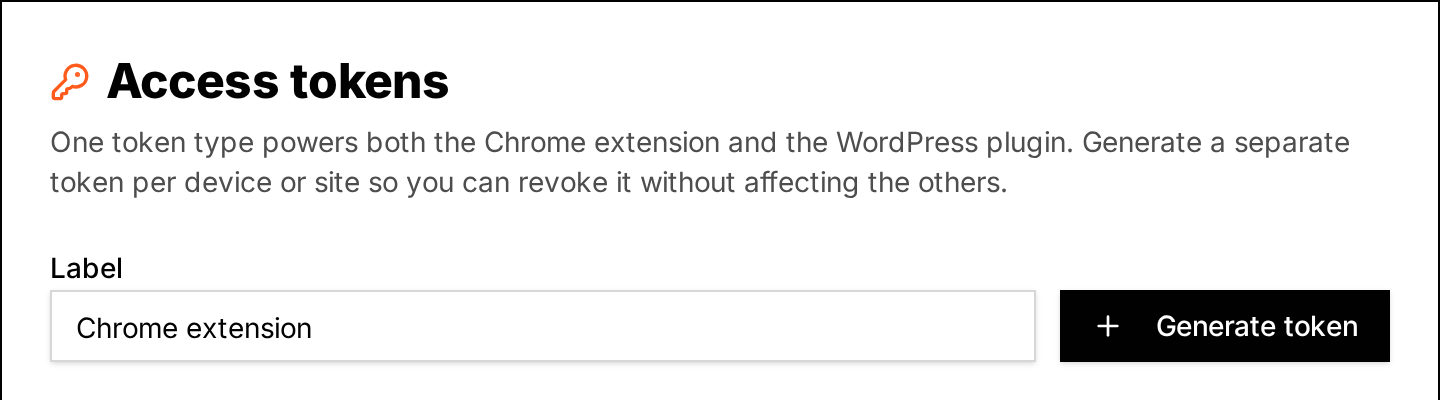
- Generate a token in Settings under Browser extension and paste it into the extension.
- Sign in to Substack in the same browser.
- Open the extension and sync. Your connection state in Quillo turns to connected.
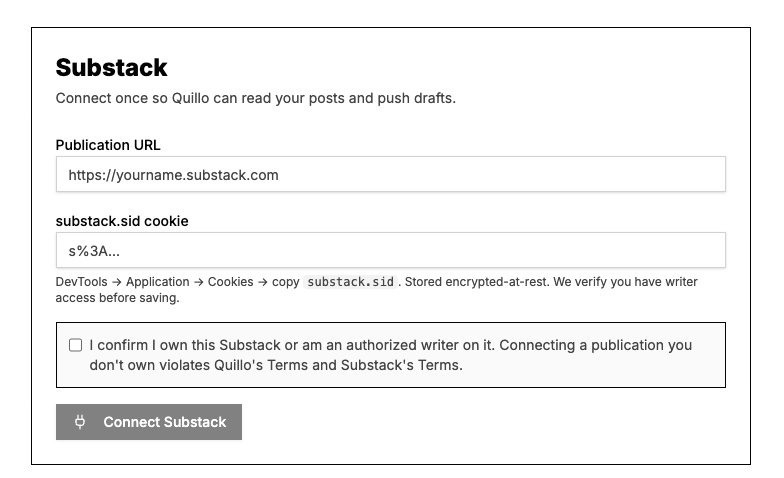
Pasting the session cookie by hand works for a short while and then expires, which makes publishing fail later for no obvious reason. Chrome and Chromium browsers are the tested path.
Bring your own AI key, or write it yourself
AI drafting is optional. You can type every issue by hand and the rest of the workflow is unchanged. If you do want drafting help, you add your own provider key in Settings, which means you are on your provider's pricing and there is no per word markup from Quillo.
How the drafting is controlled
- Mode: full post for a complete issue, digest or roundup when you are summarising several links, outline only for a skeleton, or short and punchy for a brief send.
- Length and tone: short, medium or long, with a tone from editorial, casual, punchy, thoughtful or professional.
- Your own voice: paste a sample of your writing in Settings and new drafts try to match that sample instead of a generic tone.
- Sources and highlights: items you sent to the Composer are the material, and a passage you highlighted with the extension is treated as the part you cared about.
Inside the editor you can also select a paragraph and ask for a rewrite, a tighten or an expansion of just that part. That is usually more useful than regenerating a whole issue.
AI output is a first draft. Read it before it goes anywhere. It gets facts wrong, and it will happily write a confident sentence about something it does not know.
Writing the issue in the Composer
- Open the Composer directly, or select items in the Library and send them across.
- Write it yourself, or generate a first draft from those sources.
- Edit the subject line and the body until it reads like you.
- Save the draft.
The Composer uses a rich editor by default. Turn the rich editor off if you would rather write raw markdown, and you get a rendered preview underneath so you can still see how the issue reads.
Push, publish or schedule
From the Drafts screen, Push to Substack sends the draft into your Substack dashboard and gives you an Open draft link so you can check it there. From the same row you can publish immediately, or schedule a send time, and unschedule it later if plans change.
If the source link you drafted from had a featured image, Quillo attaches it as the cover image. Some sites block external access to their media, and in that case the post still goes through without a cover, which you can add in Substack.
A weekly rhythm that actually holds
- During the week, save anything interesting with the extension. Do not judge it, just save it.
- Once a week, spend ten minutes sorting the Inbox and moving keepers into a batch.
- On writing day, send the batch to the Composer and produce a draft.
- Edit it as yourself. This is the part nothing can do for you.
- Push, then schedule the send instead of publishing at midnight.
The habit that matters is the first one. Collection is cheap and continuous. Writing is expensive and occasional. Keeping those two separate is what makes a weekly newsletter survive a bad week.
Questions people ask
Do I have to use AI to run this workflow?
No. The Library, batches, Composer, push, schedule and publish steps all work with writing you type yourself. AI drafting is an optional layer that uses your own provider key.
Why is the Chrome extension required for publishing?
Pushing, scheduling and publishing use your own Substack login session. The extension keeps that session fresh in the background. A hand pasted cookie expires and publishing starts failing later.
Which browsers are supported for the extension?
Chrome and Chromium browsers such as Edge, Brave and Arc are the tested path. Other browsers cannot be officially confirmed.
What sources can the Library pull from?
Pasted URLs, blogs and Substack homepages through detected feeds, direct RSS feeds, pages saved with the extension, posts from a connected WordPress site, and plain notes you write yourself.
Does Quillo charge per AI word?
No. You add your own provider key, so drafting costs are whatever your provider charges you.
Can I schedule a send from Quillo?
Yes. After pushing a draft to Substack you can publish immediately or set a send time, and unschedule it again if plans change.
Set this up in Quillo
Everything described here is part of the studio. The guide has the click by click version if you would rather follow along inside the app.
Keep reading
6 guides published. More as the studio grows.